


Proper table leveling in each 3D printer is the key to successful prints. Meanwhile, ABL and the CRTouch probe does not work as well in the automatic mode as it might seem. How to deal with this? Find out more in this article!
The article contains:
- Why the correct table level is important in 3D printing
- Where do the leveling problems on the Ender S1 come from
- How to properly level the table
- Useful tips and accessories that may come in handy
Proper table leveling in 3D printing
Problems with leveling the table on the Ender S1, S1 plus and S1 pro are one of the most frequently mentioned problems by users of this 3D printer. An incorrectly leveled table causes problems with the printing of larger elements and we can most often see it after the first layer of the printed design. It may not stick to the table at all, be printed in the air, or even be rubbed on the table. While some imperfections can be missed in less demanding designs, even a slight difference between the extreme corners in larger elements will cause a problem with higher layers, and the printhead may even tear the printout from the table.
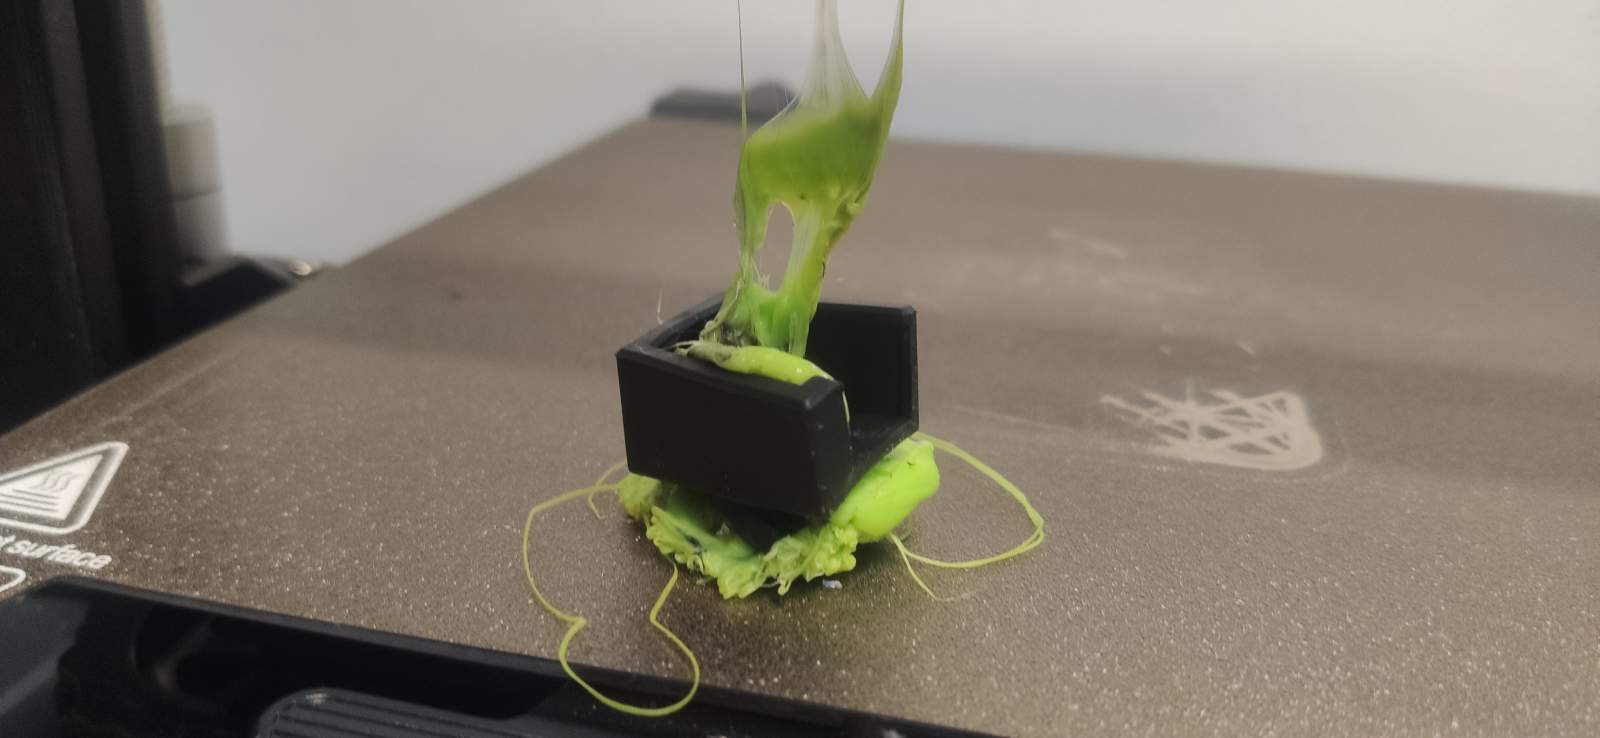
Many people, myself included, print more time-consuming projects at night or when they leave the house. In extreme cases, the printout may peel off and begin to form a massive clot right next to the print head. After some time, the clot will build up enough to block the entire heatblock, cables and may even damage the fans. If this happens, you have to disassemble the entire element and use a heat gun.
Ender S1 leveling problems and guide

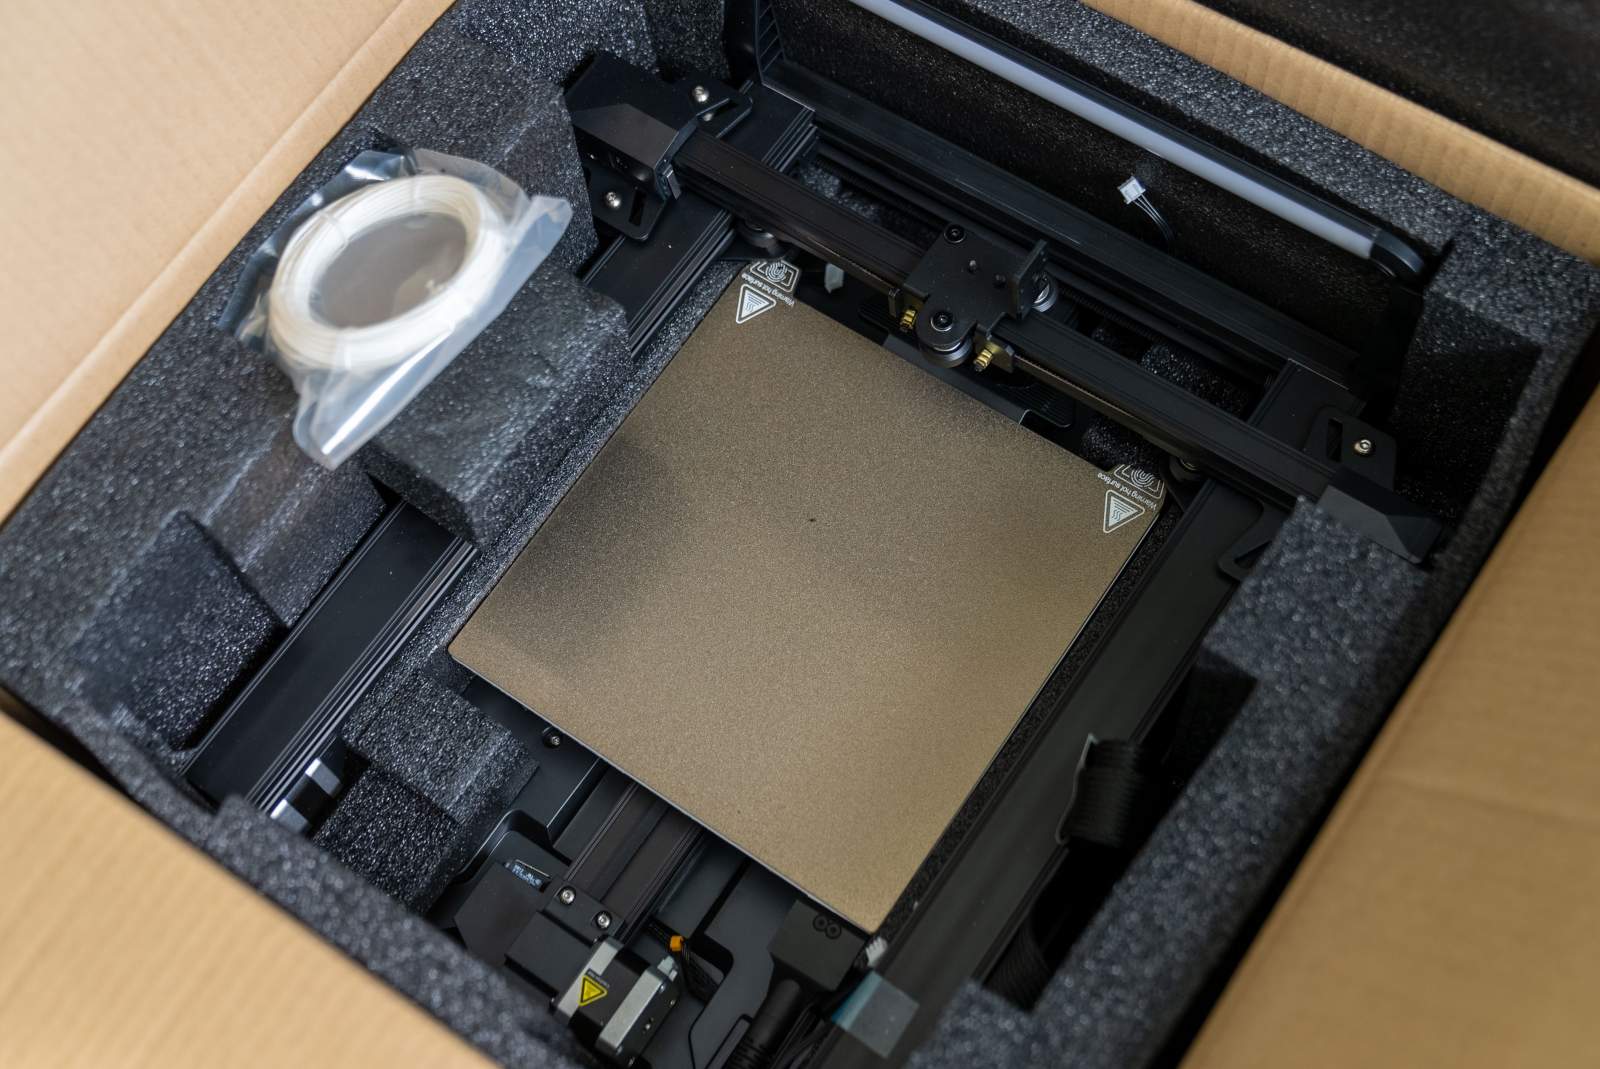
This issue is mentioned the most frequently in the reviews and comments of many printing groups. However, there may be several reasons for it. One of them is the fairly poor quality control at the Creality factory. For this reason, you should carefully check all components of your printer. It often happens that the table is just bent and that’s how it came out of the factory. The table is factory-covered with a layer of self-adhesive sponge with a magnetic PEI pad. Using a carpentry metal ruler, carefully check that there are no gaps that are too large anywhere. If you have been using the printer for some time, remove the PEI pad and pay attention to the sponge just mentioned. Sometimes fragments break off and stick to PEI. You can also find fragments of molten filament embedded in a sponge. It all creates hills and pits that are quite important for such a precise device as a 3D printer.

Bad preparation of the printer for ABL
This is a user error that I also made in the beginning. This series of printers are sold as dedicated to beginners. As you can read in my review of the Ender S1 pro printer – the manual is not the best. That is why inexperienced people trust too much automation, which works quite poorly in this series.
How to properly level the Ender S1 table
To level the table on the Ender S1, first of all you need to warm up the table. The standard 60 degrees Celsius is enough. After all, it is a metal element that is susceptible to temperature. And most of the time you will be printing with a preheated table.

The next step is to loosen each of the four springs located in the corners of the table. Unscrew them until they do not resist and the adjustment wheels start to rotate freely. Then, with a quick movement, unscrew them in the opposite direction so that they tighten freely until the table resists. This way we got the 0 position in all four corners.

Then go to the manual mode (AUX) in the AutoLevel tab. We choose the very center of the table so that the head is positioned just above it. Now it’s time to set the Z-offset, which is the distance between the head and the table. Initially, I used a piece of paper for this, but a hint from one of the internet users turned out to be the best. It is enough to lean over the printer so that the eye is at the level of the magnetic pad. Thanks to this, you can clearly see the space between the head and the table. Illuminating the table will additionally facilitate this step.

We lower the Z-offset until there is only a slight gap between the table and the head. The head must not touch the table. Using the manual mode, select one of the table corners and use the nuts under the table and the “by eye” method to pull the springs to adjust the table height in this place. We repeat this method in each corner.

It is the time to use CRTOUCH and ABL now. For best performance, the CRTouch probe needs minimal variations in the probed locations on the table. This creates a grid that the printer uses before each print to compensate for any unevenness. At least in theory.
After activating the automatic table leveling function, go back to manual mode and check the Z-offset on the center and edge. There may still be minor differences. This way of leveling got rid of the problem that the center was always higher than the edges.
Useful tips and accessories that may come in handy
When you buy a 3D printer, you start modifying it as needed. Many people who decide to buy such equipment immediately ask a lot of questions what they should mod and change. I agree with the opinion that you should first feel the equipment and only then think about improvements. Two things that I can recommend to you in the context of improving auto-leveling are, first of all, silicone table pads instead of ordinary springs. They give better control, precision and, above all, have a much larger contact point with the table. The second modification is to change the mounting location of the CRTouch probe, but it is an element that will be useful when modifying, for example, heatblock fans and printouts.

What else is worth remembering in the context of leveling the table in a 3D printer? First of all, it is worth paying a little attention at the beginning to get it done exactly. As a result, our prints will be of much better quality and will not fall apart during printer operation.
Another important thing is to remove the prints only after the table has cooled down. Then they practically detach by themselves or with little force. I found myself trying to position another printout and struggling with the model in every direction, which caused the sponge fragments to be torn off under the pei pad. It’s worth waiting for a minute or two extra.
The table must be clean. In my case, washing it with IPA alcohol and microfiber did not work for PEI. There was still a greasy coating from the fingers or the filament itself in this texture. The best option is to remove the pei pad (cold), then rinse it with hot water, wash it with a sponge and soap or dishwashing liquid, rinse thoroughly and wipe it dry. It’s a good idea to do this every time the edges of the print are perfect, but the center gets jagged, curled, etc.
At the end of this article, I will also add that it is worth checking the height of the head from the table from time to time for the center and corners. After a while, there may be some variation in print quality, so keep that in mind.
