


The latest 3D printer from the Ender 3 S1 series is a device that will allow beginners to enter the world of 3D printing. The models of this series are pre-assembled and contain the best and proven solutions currently used in this technology. Is it worth buying?
I am writing today’s review from the point of view of a less technical person who would like to start his adventure with 3D printing. So I decide on a device that is supposed to make it much easier for me. I’ve had a desire to buy a 3D printer for a long time. I am a beginner in this topic, so the decision was delayed all the time by the same factor – I will not be able to deal with it myself. The web is full of tutorials on how to build a new printer with a different printer, what parts are needed, what can be bought from a local DIY store, etc. It all made me just can’t see how to start. The risk that something would not work, i will assemble it wrong or damage elements in such a precise device was very high and almost certain. That’s why I was glad to think about a new series of 3D printers from the popular Creality brand. The S1, S1 plus and S1 pro models differ in terms of equipment and capabilities, but they all have one thing in common – they are pre-assembled. It is enough to take them out of the box, attach a few elements and after a maximum of 15 minutes each person can start their adventure with 3D printing. I decided on the highest model – S1 pro, for which I paid out of my own pocket.
Creality Ender-3 S1 pro – first impressions
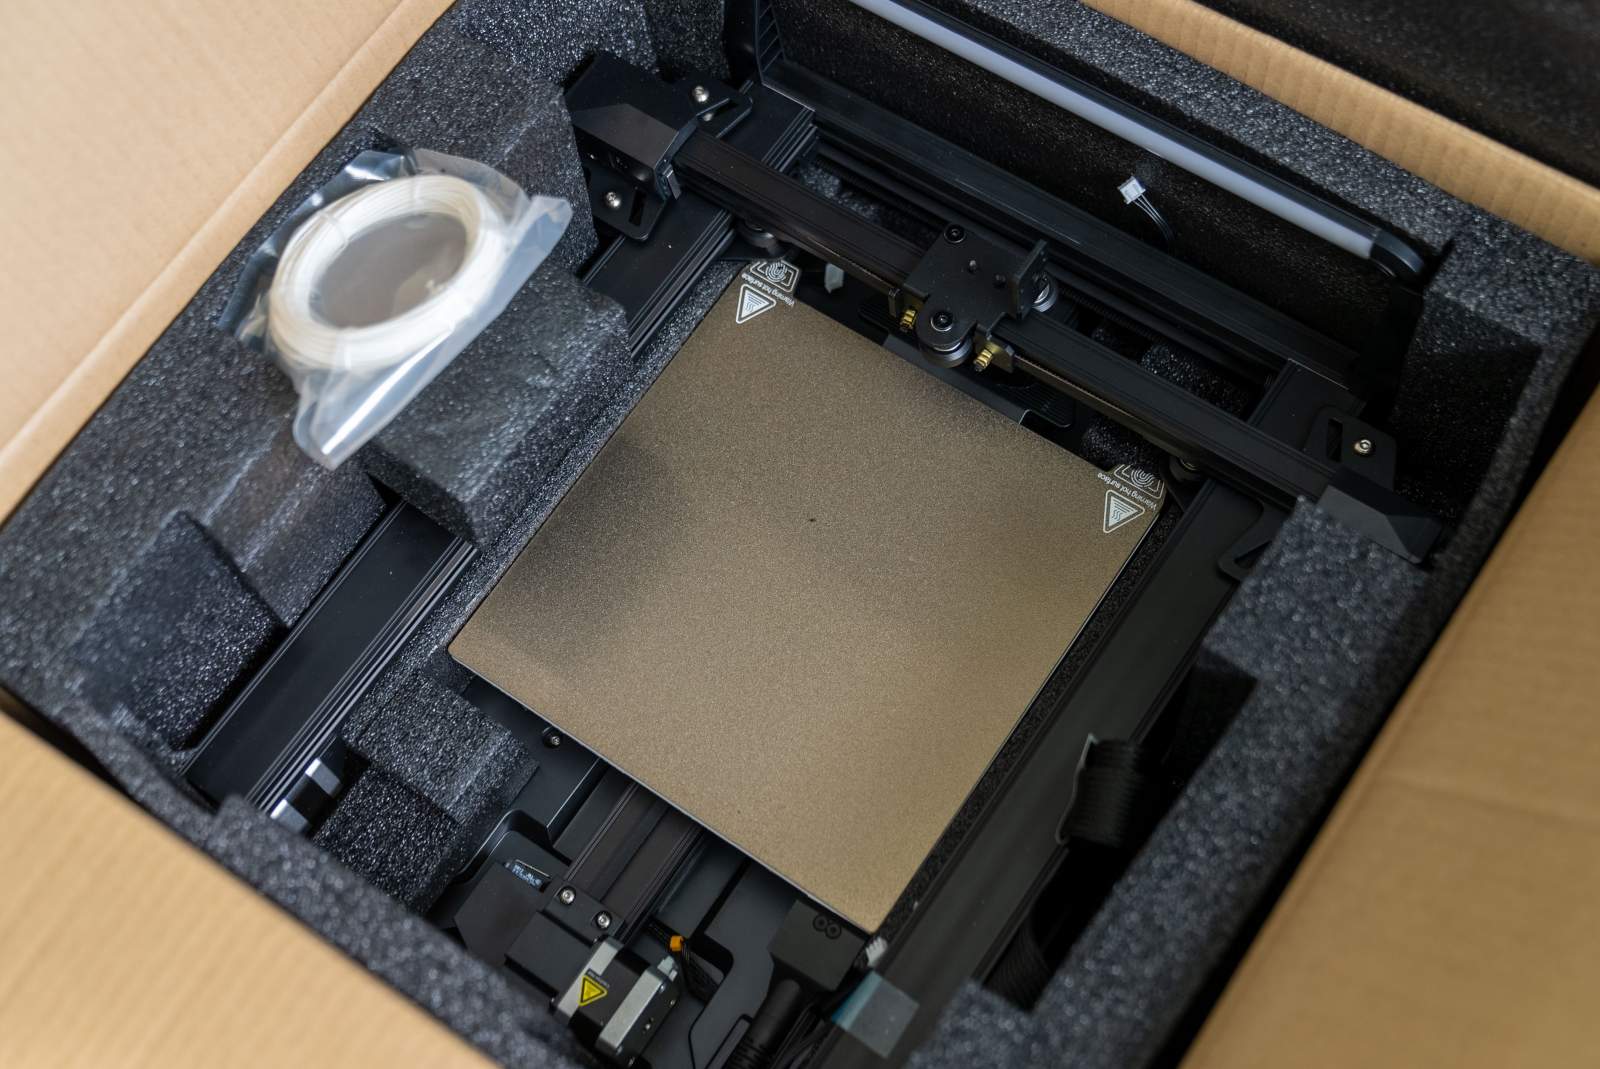
The device came to me in a large box. The manufacturer has divided the whole thing into 3 main elements that we need to connect with each other. The first is a massive base with electronics and a work table. The second is the arms ending with a led lamp and a filament spool holder (the material we print with). The third box, on the other hand, is accessories. Among them are: touch screen, filament sensor, extruder and a set of necessary tools for the assembly and service of the device. In the box I also found a calibration card with an abbreviation of the most important print parameters for various materials, and 100 grams of white PLA filament. Here, however, I have the first caveat.
In previous models, which in fact were much cheaper at the time of the premiere – the manufacturer added a whole roll of 1 kg of filament to start our adventure even faster and so we can be able to test the settings. Here I got a folded, bent, broken in several places and practically useless filament. In turn, the led lamp came to me scratched.
Creality Ender-3 S1 pro – assembly

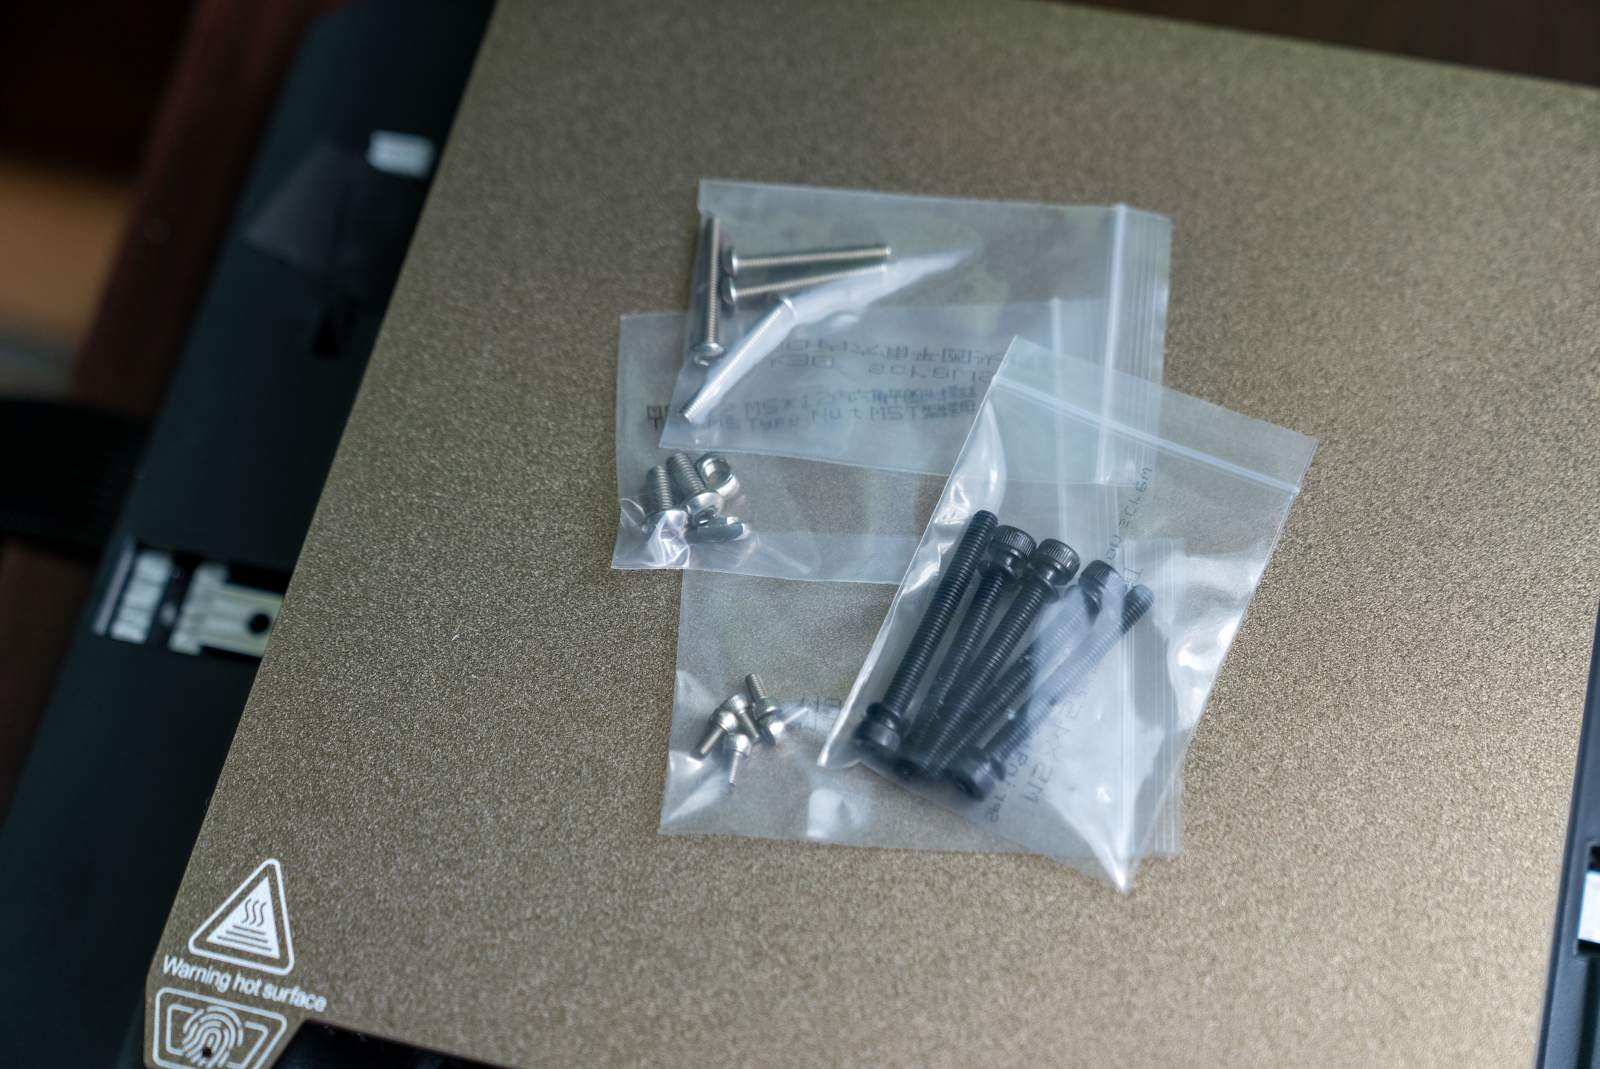
I have to admit that Creality dispelled my fears with this model. The almost completely complex printer, to which only a few elements need to be mounted, made my first contact with such a device much easier. However, if you are a complete amateur on this topic (just like me), you will immediately notice that Creality’s manual contains a lot of industry shortcuts that are not clear to those unfamiliar with the topic. The manufacturer recommends, for example, tightening the straps responsible for the movement of the extruder and the table. However, it does not say how hard we should do it. There are many such shortcuts – e.g. tighten the wheels of the sliding work table in an appropriate manner. But what “the right way” is? Tighter, looser, or something else? There is also no FAQ section so I had to search for help in YouTube videos where someone explained to me why the table was swinging sideways and how to fix it.

After mounting all the elements and tightening the mounting screws, it was necessary to connect the wires. There are several of them, but fortunately we have another simplification here – you just can’t connect them wrongly. Several of them stick out of the housing right next to the sockets and you have just to plug them in during the final assembly.
Creality Ender-3 S1 pro – first prints

The set includes a number of useful tools – filament cutters, a number of wrenches for adjusting screws, a print head cleaner, an SD card with a USB reader, and a spare nozzle. Here I came across another funny problem resulting from the badly written manual. The SD card is inserted into the device with the contacts facing up, and not as all devices and readers are used to – with the print sticker on top. Interestingly, it is possible to insert the card the other way round, but it will not work.

It was only after several dozen prints that I found out by accident that I was misusing the fine needle to clean the print head nozzle. I should heat the device to 200 degrees Celsius, and then push the head from the bottom. I did it the other way around, because that’s what logic told me – I put the needle where you put the filament and pushed it through the head to the outside. But this was the wrong way.
Table leveling and CR Touch
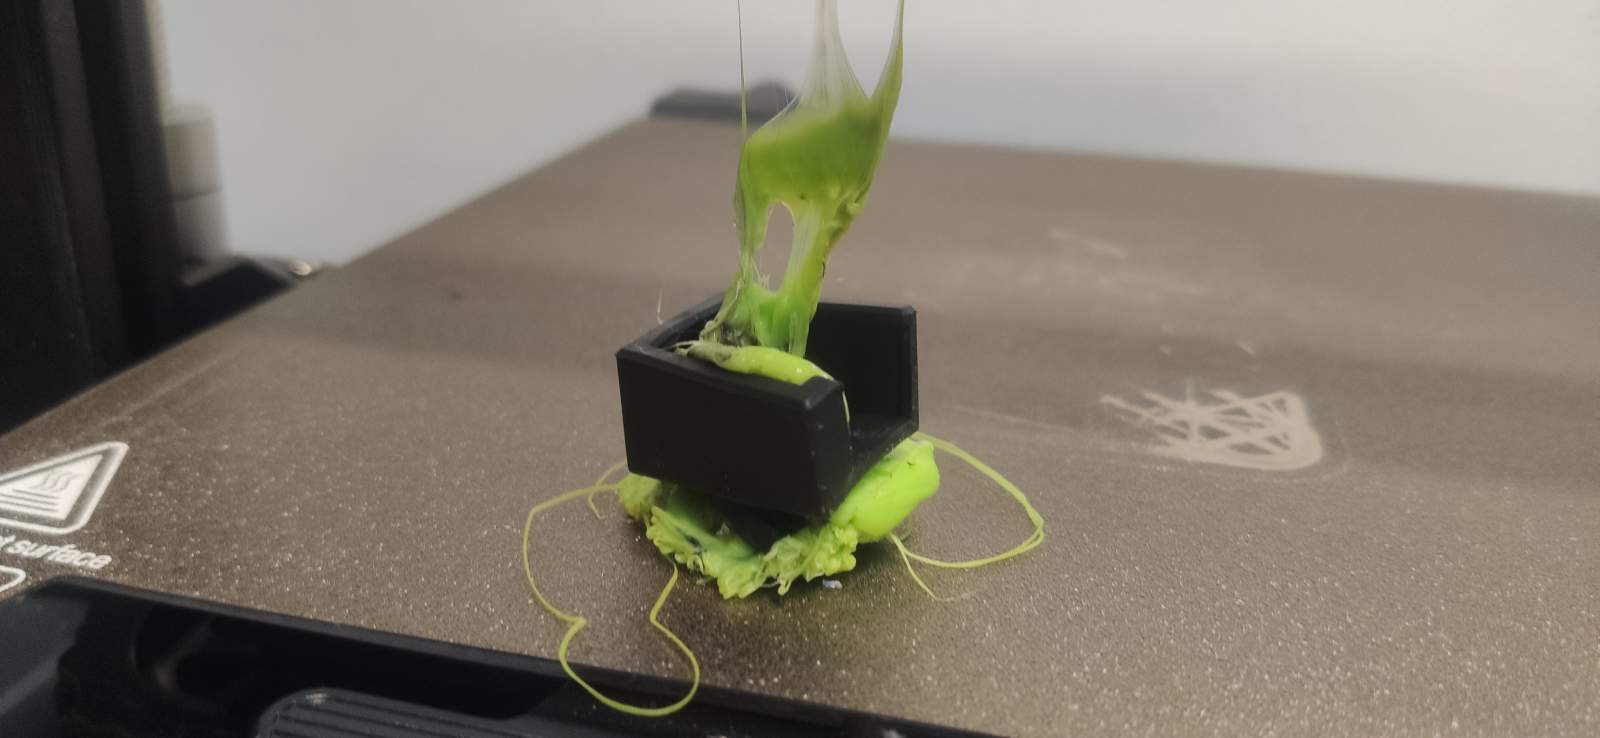
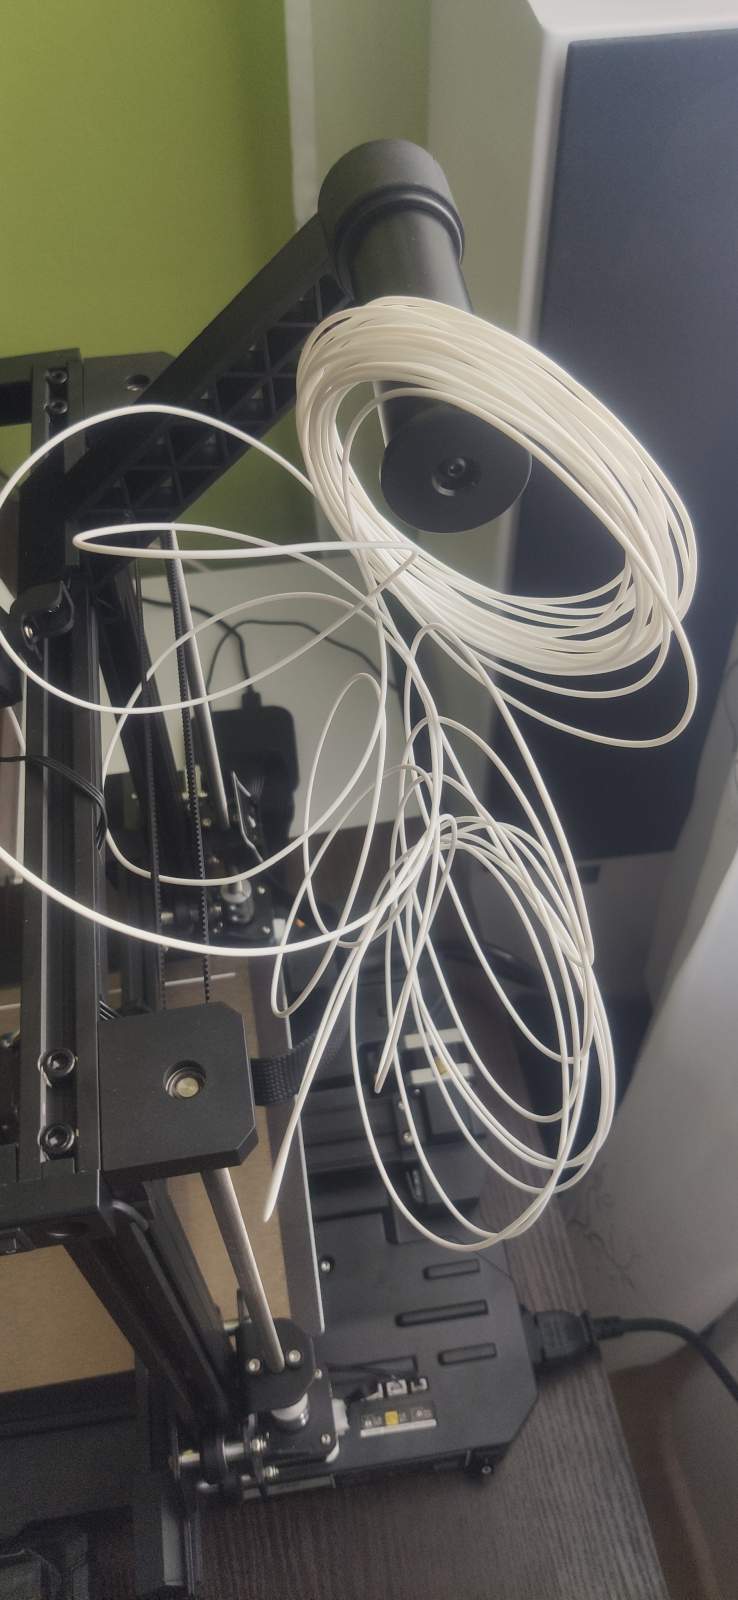
On the mentioned SD card, we have a few files saved for test printing. After unrolling the tangled free filament, I started the first calibration. The precision in 3D printers is very high, so even the slightest tilt of the table to one side will cause the printout to fail. Sometimes bad leveling can be seen already in the first layers – the filament does not stick, it peels off, or the head rubs it on the table.
However, bad leveling is not always visible in the first print layers. The higher the printed design is, the differences may increase with successive layers. It may happen that the last layers simply do not come out after several hours of printing. Therefore, the leveling of the table is a key factor here.

To make it easier for users to level the table, the manufacturer has equipped the printer with a CR Touch sensor. We can also manually adjust each of the four outermost springs. How does CR Touch work? Auto-leveling should be selected from the printer menu. The extruder moves to a central point, extends the “foot probe” of the sensor and slowly lowers to the table. When the sensor touches the table, it records data about its position and creates a special grid. During auto-leveling, CR Touch moves across the table checking its various points.
The next step is where we have to step in. After completing the auto-leveling process, you have to set the extruder in the central position and put a piece of paper under it (you can use the one attached to the device). Then, using the leveling menu, lower the extruder until its head gives a slight resistance when moving the paper sheet. We lower it in increments of 0.05 millimeters. Here, unfortunately, the manual is very limited and does not define the word “slight resistance”, so I had to use the suggestions of more experienced people.
Auto-leveling problems on the Ender S1

Here I come to the main problem of the Ender S1. I have already talked to over a hundred owners of different versions of the Ender S1 on this matter, and many of them have the same problem. During auto-leveling, the CR Touch sensor creates a grid that the device uses when printing. Thanks to this (in theory), the table becomes perfectly even. The problem, however, is that the system works very randomly with often absurd results. You can run auto-leveling several times in a row and the extruder will be set differently each time. I am not talking about a difference of 0.05 millimeters, but even 10 times greater.
Let me illustrate this with an example that concerns me and many other users. After completing the auto-leveling, I set the head height in the central point of the table. I use the instruction manual and a sheet of paper for this. Head lowered by -3.45 mm. It’s perfect, so I switch to manual mode (further according to the instructions) and check each corner of the table. There is a height difference, so as per the recommendations, I adjust the position of each one. Also by the method with a sheet of paper. The edges are perfect, so I go back to the starting position, but the center has dropped and the head has to be raised significantly, all the way to -2.35 mm. After lifting, the edges no longer fit and we return to the starting point.
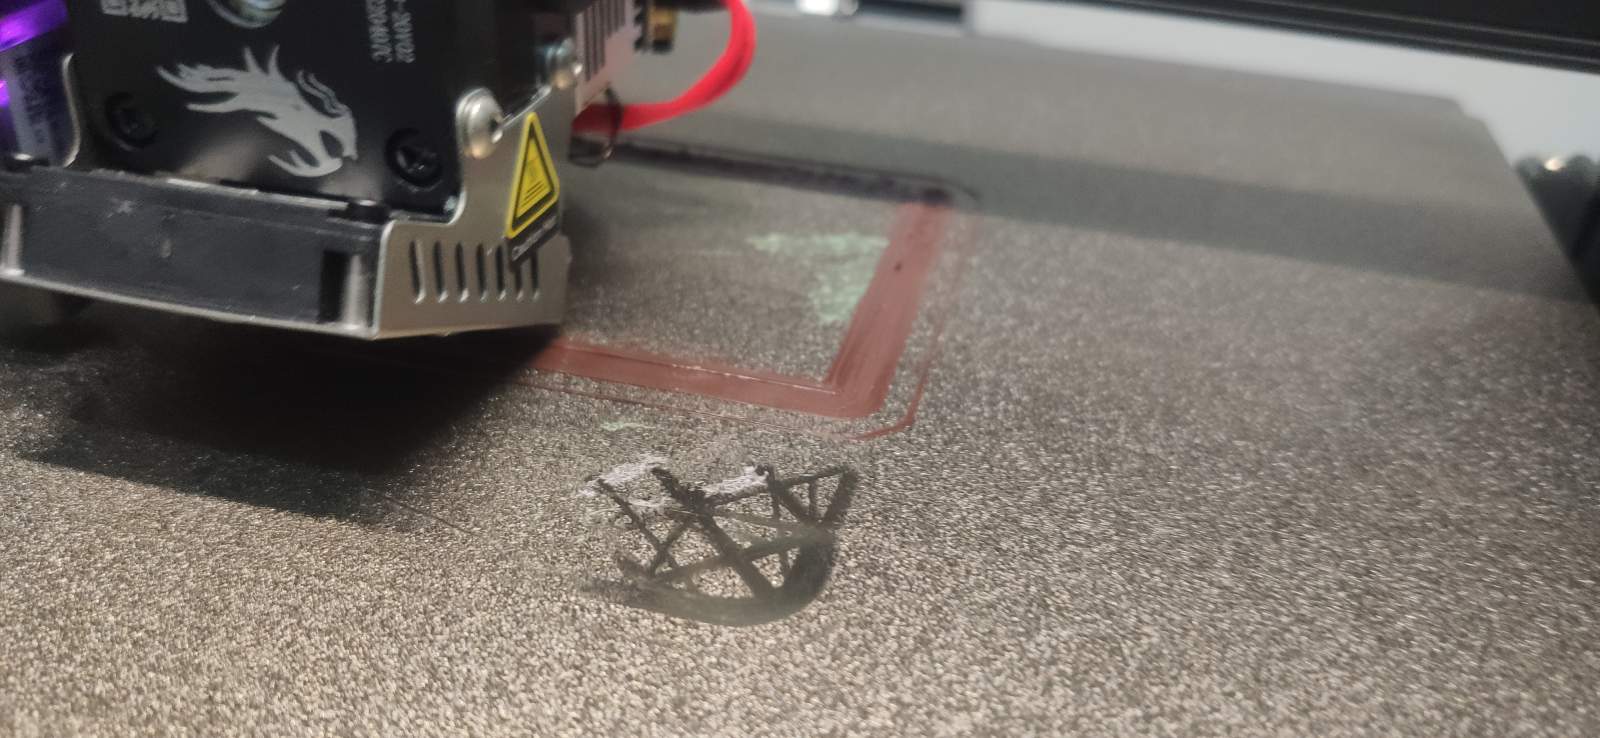
However, when I managed to set the table fairly evenly, many times it happened to me that the head caught a strange position correction in the middle of the print and began to gently drop with each layer, ruining the print. When I started a new one – the first layer, instead of lying on the table, was engraved into it. After checking the height of the head, it turned out that in the menu it is exactly the same as the one set for the method with the sheet of paper, only the head dropped so much that it had to be raised by up to 15% to be able to put the sheet on a new calibration at all. The problem recurred so often that at some point the head damaged the magnetic PEI pad on the table.
Thanks to such PEI pad, it is easier to remove the printed element from the table. Sometimes the print sticks so tightly that it can be really difficult. The pad can be quickly removed from the table and gently bent. The print is released immediately. The head rubbed my pad so that it stuck permanently to the insulating layer of the table. Trying to remove it – I tore off the pieces of insulation. As part of the complaint, I received a different model of the PEI magnetic overlay, which does not fit my printer. Only the manufacturer himself sent me a package with two such pads.
Creality Ender S1 software update

The manufacturer recommended that I check the software version of my printer. Here a funny but somewhat absurd fact has occurred. Some printers leave the factory with much newer software than that available for download on the manufacturer’s website. If I had tried to update the printer with an older software than I have, this one would simply not run anymore. In my case, it was possible to update the printer software, so I proceeded with the manufacturer’s instructions.
The problem I described at the beginning has returned here. I downloaded a dedicated package for my printer which contained 6 different folders. Creality released a video showing the entire update process. However, they did not explain the differences between the contents of the individual folders in the package and indicated a specific one as part of the instructions. So I had to guess and my printer quickly turned into an expensive brick that won’t start. The manufacturer referred me to the guide on his website. It turned out, however, that the link leads to a blank page with a 404 error. I tried to find the guide from the page itself, but I ran into the exact same error. Fortunately, after browsing dozens of websites, Reddit, YouTube, one user suggested to download and install the Japanese version of the software. I did and my printer came back to life again. Only the software version from August is already stable, but only when we update the display itself (the printer and the display are updated separately with other files).
Many people recommend switching to external, the so-called “professional” software that greatly extends the capabilities of the Ender S1 printer. It also allows for better leveling. It turns out, however, that such a modification works only in “weaker” versions of printers with ordinary displays. The pro version is already a touchscreen display in which the software will not work.

Is Creality Ender S1 worth buying?
3D printing is a very engaging technology that makes you want to learn and develop in this direction, setting yourself more and more ambitious goals. In my case it was exactly the same. First, for fun, printing a few ready-made projects, then learning about the types of filaments, their properties, common problems, and ways to solve them. Another thing that made me a lot of pleasure is designing my own models, initially in simplified programs such as ThinkerCAD, or learning and testing various slicer settings (programs used to cut a project into layers supported by a 3D printer). It is worth mentioning the great community of people involved in 3D printing – we can easily find a lot of people who share their knowledge, try to help solve your problem, or share great projects that they have been working on for months. All this means that even when you hit a wall, you are able to find someone who had a similar problem, solved it and now will help you as well for free.
You are probably wondering what I wrote has to do with the Creality Ender S1 Pro? Well, the answer is unfortunately simple – nothing. The printers of this series are suppose to be friendly to beginner users, guiding them by the hand, showing more and more new elements and giving them knowledge. They are advertise as a ready for use right out of the box. Meanwhile, when buying the Ender S1 Pro, we get none of these things. The printer has numerous software problems, and sometimes it behaves completely unpredictably. The manufacturer cannot fully decide who the product is intended for – like beginners, but you will not find any tips, guides or hints here. We have to keep looking for all of this on external websites or on YouTube channels. These, in turn, have been pointing to a problem with autoleveling and the CR Touch sensor in these models for months, and in general: quite poor quality control on the Creality production line.
Pretty soon, the problem with ABL destroyed my magnetic pad, to which the Polish store reacted quite quickly – filed a complaint with the manufacturer and sent me a new one without waiting for its consideration. This one, however, was destroyed by the courier. The carrier rejected the complaint, claiming that the package was poorly secured and that the responses were flipped over for a month, and the effect is the same – a dented pad. In the meantime, I decided to write to the manufacturer directly and ask about the strange, even random behavior of the printer. Creality did not hesitate for a long time and as part of the complaint, they sent me a package containing: a new table, 2x new magnetic table pad and a hot print tip. The story could have ended anyway, but the printer cut the prank again and during the startup procedure… the head went to the right instead of to the left. There is no limiter on the right side, just as there is no pcb socket in my extruder anymore. It was torn out at the same time. Creality was helpful again and they send me new PCB and CRTouch probe which died on scene.

At the end of this review, I will surprise you. Despite the numerous problems described above, the 3D printing technology itself hooked me a lot and made me want to get to know it more and more. It may seem absurd, but printer failures give me the opportunity to get to know the device gradually and learn how to build it while replacing individual components. I feel like with each new repair or solving a problem, I gain new skills. So I do what I was afraid of at the beginning, but I do it in reverse order. I just got a clogged head nozzle inside. It was not possible to clean it from the outside. After a very helpful video on YouTube, I made a very risky decision – to take the entire module apart. Of course, at the end, the extruder gears and bearings fell out by accident. I was afraid that this was the end of my printer, because of course I couldn’t find a diagram of this mechanism anywhere and how should I put it together. I did it intuitively and it turned out that I solved the problem of the clogged nozzle and everything started working again. It’s been a long time since I was so proud of myself.
