

")
MSI MPG Gungnir 300P Airflow is a modern mid tower case with mesh panels and tempered glass, designed for powerful gaming builds. This model features a perforated front panel with 1 mm openings, aiming for maximum airflow while still filtering dust. High quality materials (steel, tempered glass) and a well thought out interior layout make it a case built for performance and hassle free installation even for more complex configurations.
I received the case directly from MSI Poland.
Design and construction
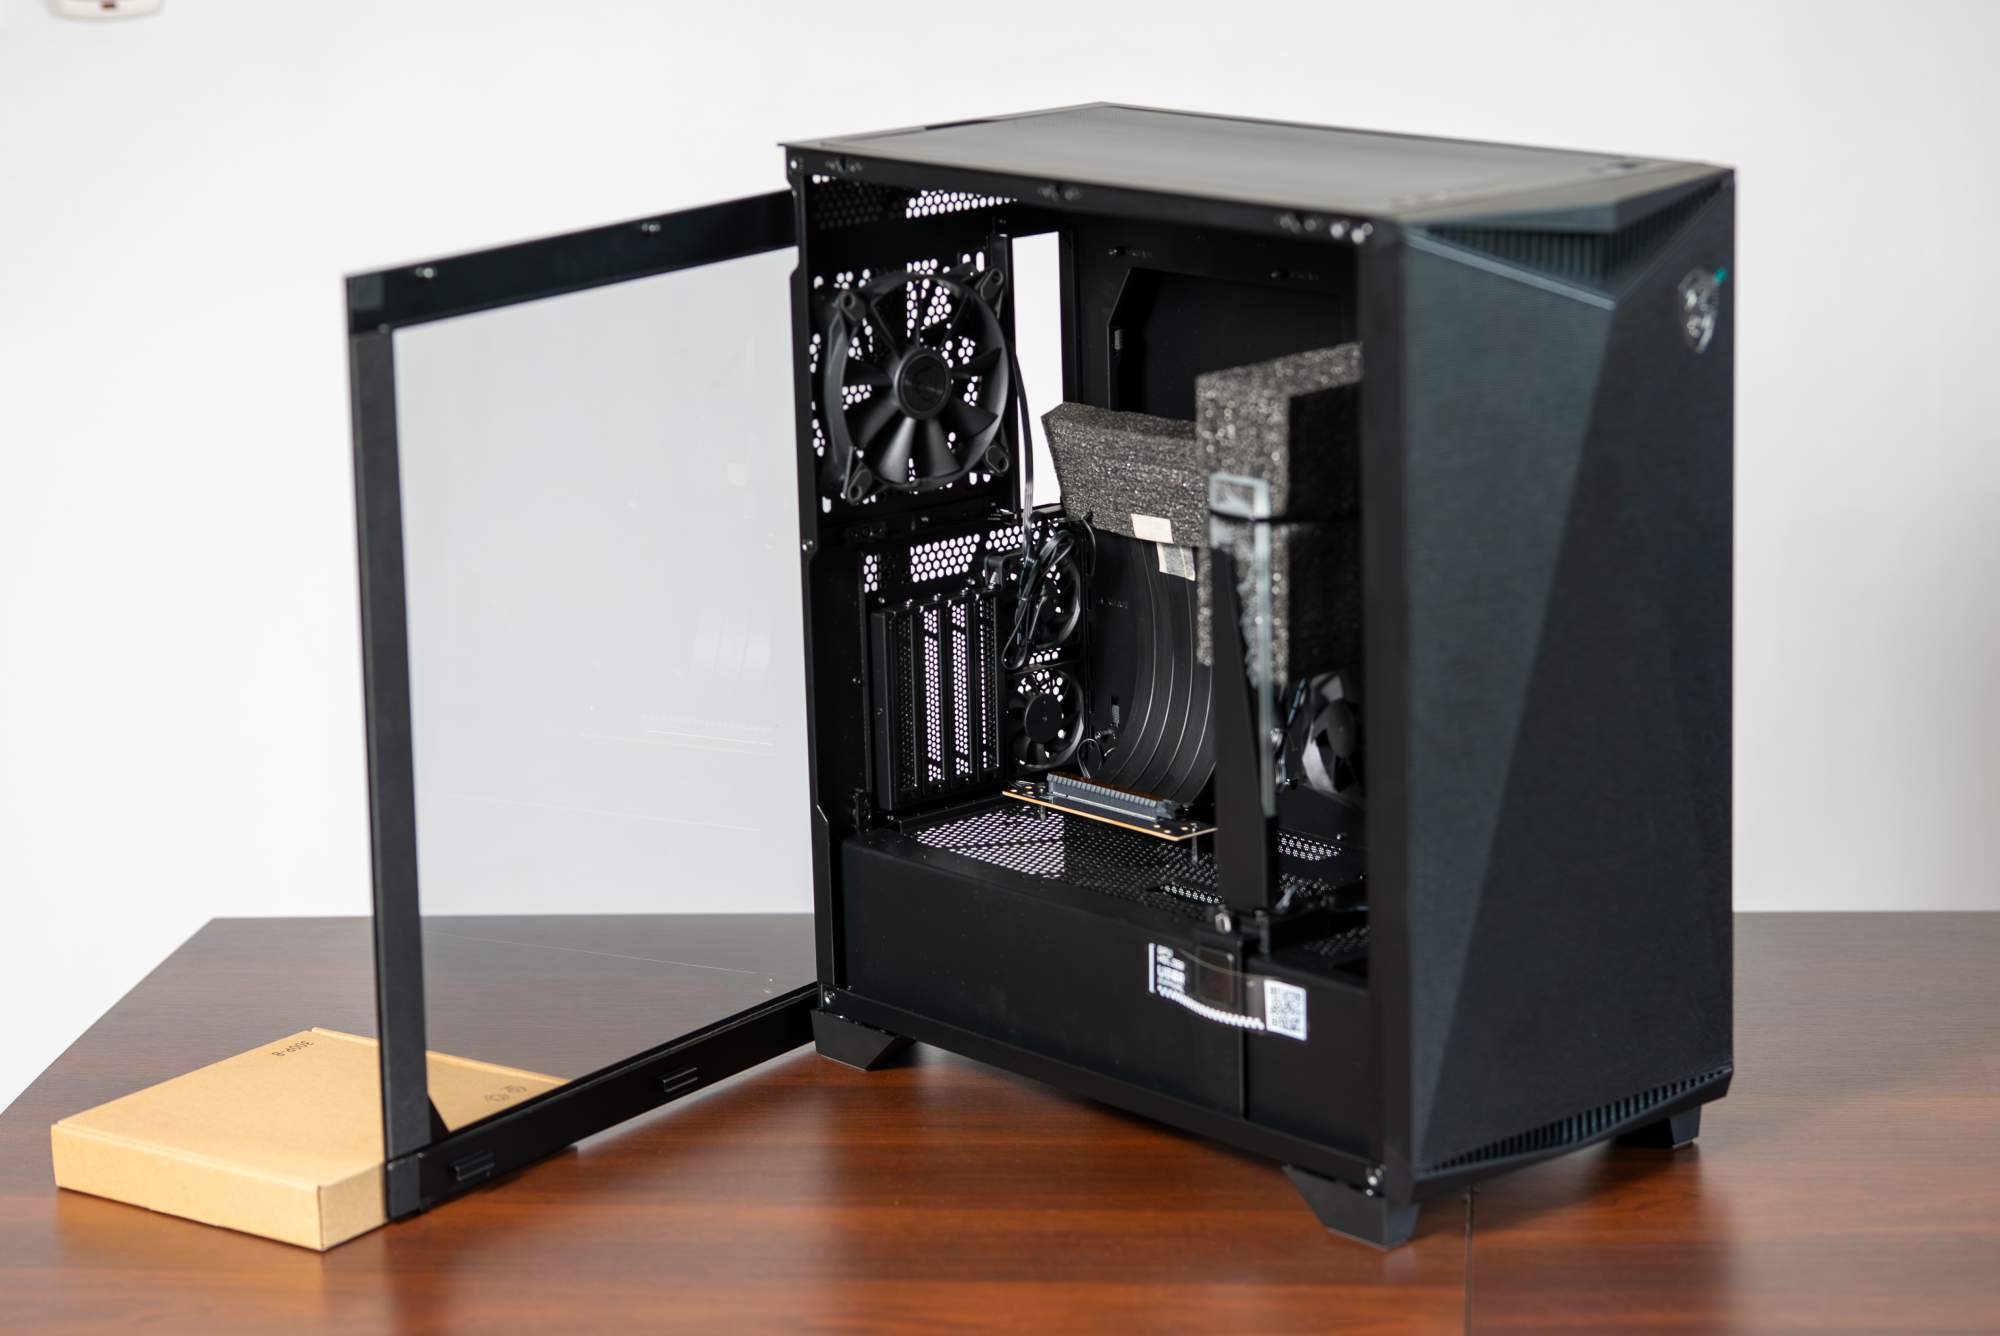
The Gungnir 300P Airflow stands out with an elegant, understated design and a solid build. It weighs about 11 kg, largely due to the use of thick steel and a lot of metal, which translates into high rigidity and durability. The tempered glass side panel (about 3-4 mm thick) lets you showcase internal components nicely and is mounted tool free (with thumbscrews), making access to the inside easier. The front is made from a single piece metal mesh with very fine openings (1 mm) across the entire surface, so fresh air can flow freely into the case while larger dust particles are stopped. The top panel is also perforated (and supports mounting fans or a radiator as well), which helps exhaust heat upward. To keep things clean, dust filters are placed at every intake area: at the front, at the top, and at the bottom intake for the power supply.
The interior is designed to be very spacious and versatile. It’s a mid tower with support for motherboards from Mini ITX up to E ATX (up to 280 mm wide), meaning it’s compatible even with large boards. For my new PC I chose the MSI MAG X870 Tomahawk WIFI. The maximum GPU length is 360 mm officially, or about 338 mm depending on the position of the support bracket and elements near the GPU. You can also rotate the graphics card by 90 degrees. There’s also plenty of clearance in height: the CPU cooler can be up to 175 mm tall, which allows installation of the biggest tower air coolers. For liquid cooling, the case doesn’t impose major limitations either, but I’ll get to that later. At the bottom there’s a roomy PSU shroud for a power supply mounted in the standard bottom position. The case fits ATX PSUs up to 220 mm long, so even a 1000 W unit fits comfortably with extra room left for cable routing. In my build I used the MSI MPG A1000GS PCIe 5 power supply, which I also received from the manufacturer. The entire lower compartment is covered by an aesthetic shroud (PSU tunnel) with an MSI logo, which hides PSU cabling and also offers mounting points for two 120 mm fans or 2.5 inch drives on its top surface.
Cable management and drive mounting
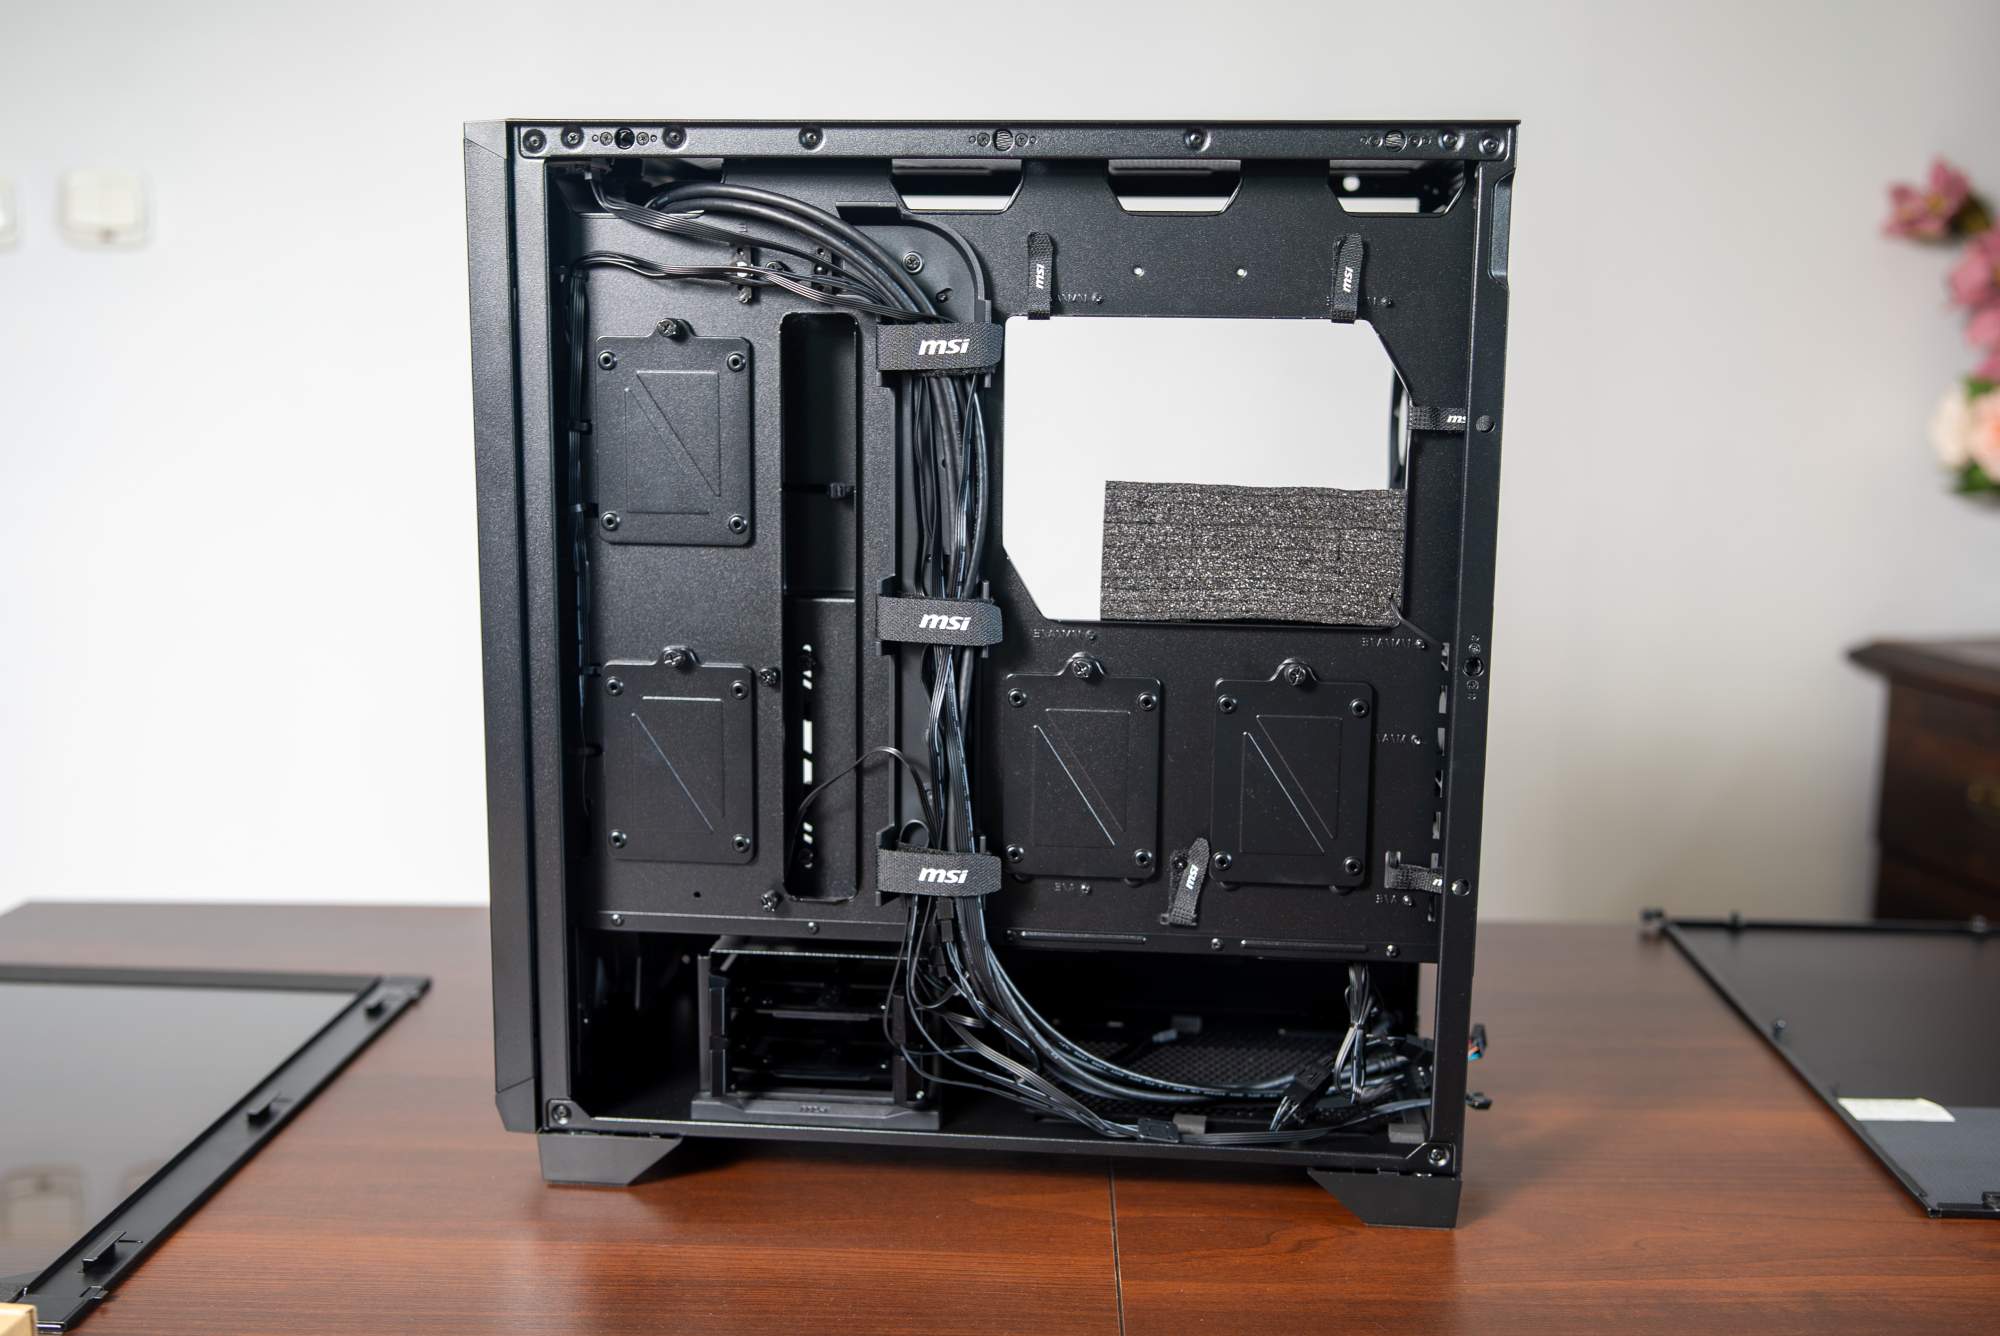
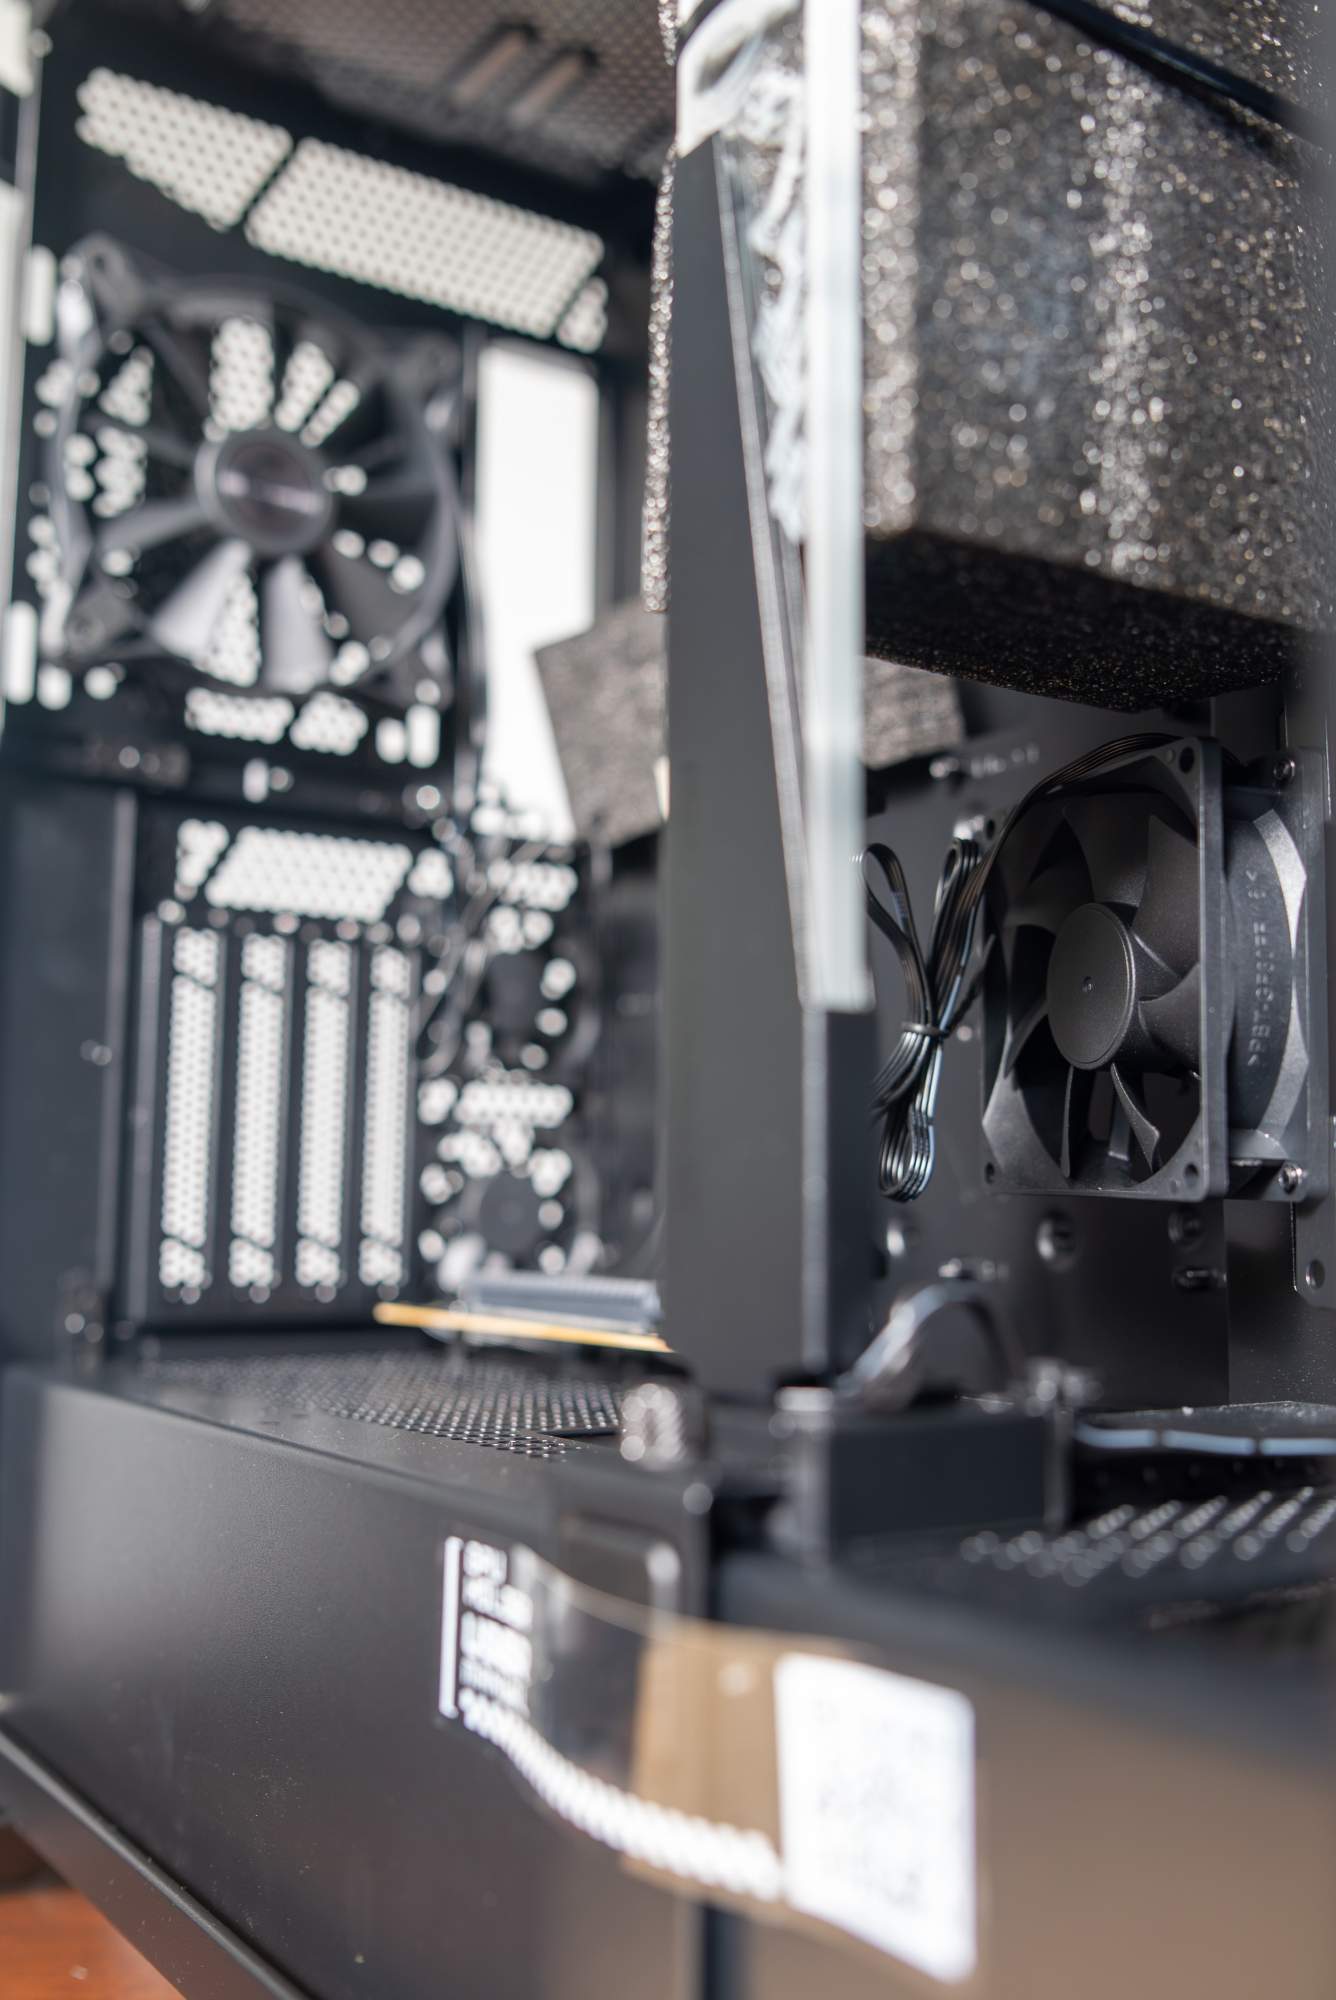
MSI put a lot of effort into cable management. Behind the motherboard tray there’s sufficient clearance and a cable routing system with plenty of cutouts plus Velcro straps and mounting points. That makes it easy to route everything behind the tray and bundle it neatly. As a result, you barely see any cables in the main chamber, which improves both aesthetics and airflow. There’s no cable mess, and hiding the wiring was straightforward thanks to the clever design and many tie down points. An extra touch is the large cable cover panel near the front edge of the motherboard tray, which hides the cable bundles going from the PSU shroud up to the motherboard. This panel plays three roles: it improves looks, stiffens the structure, and it also includes a fan mounting spot (with an 80 mm intake fan installed there from the factory).
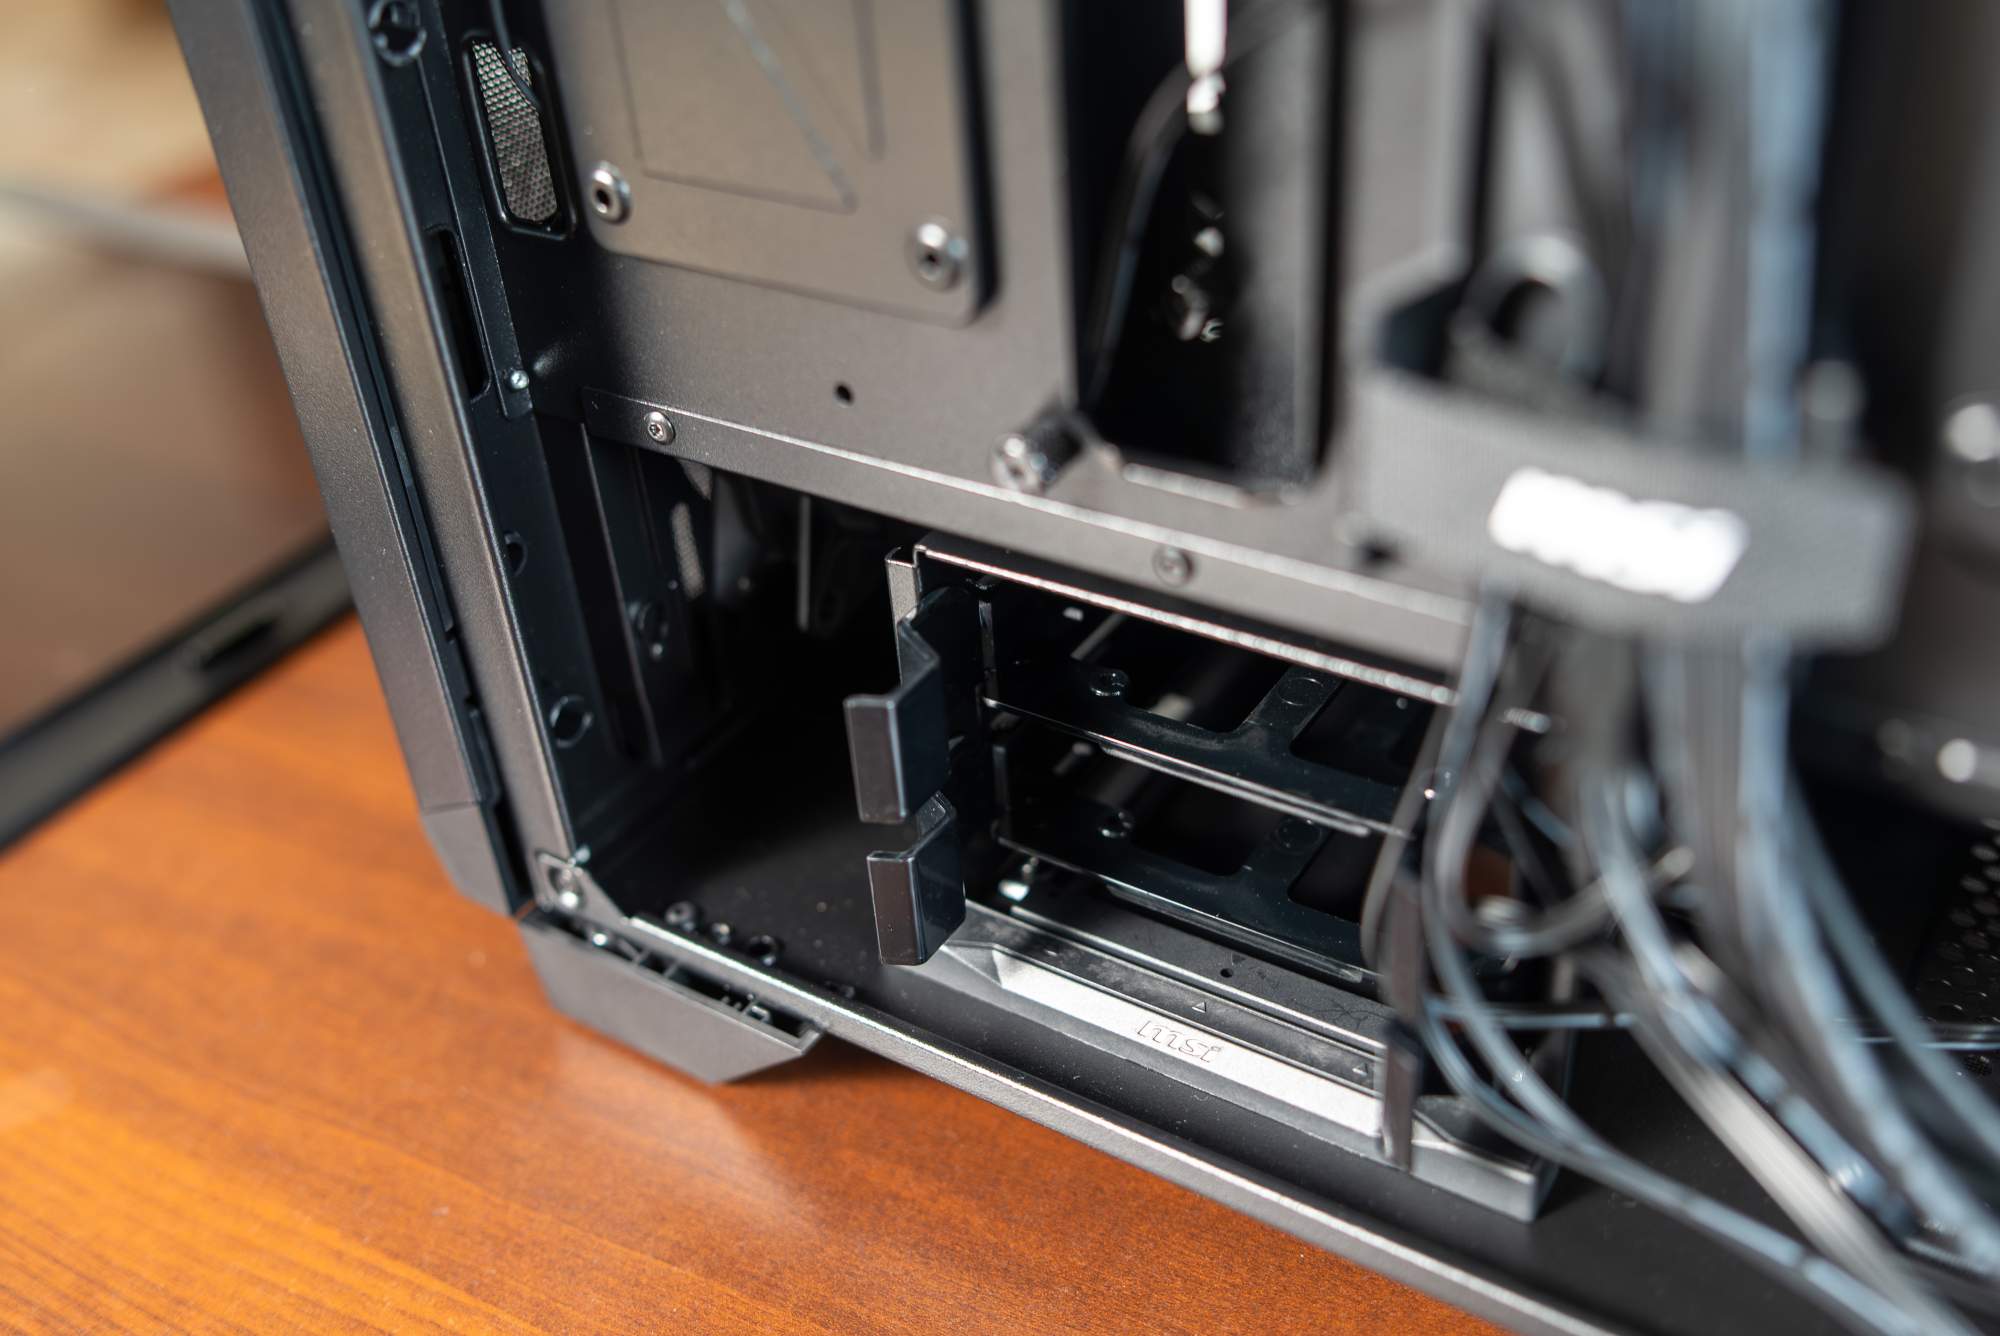
For storage, there’s room for up to 8 drives total: up to 6x 2.5 inch SSDs and 2x 3.5 inch HDDs (which can also fit 2.5 inch drives). Four of the six 2.5 inch positions are vertical SSD mounts placed behind the motherboard tray (drives mounted vertically on dedicated brackets), which lets you mount them neatly without disrupting airflow in the main chamber. In addition, the PSU tunnel can hold two more SSDs (as long as you don’t use that space for fans), and there’s a modular 3.5 inch drive cage. The HDD cage fits two 3.5 inch drives (or 2.5 inch) and importantly it’s slide out, adjustable, and even fully removable during installation or when you want more room for cables or better airflow. The drive tray slides out quickly thanks to a latch mechanism. If needed, you can move it or remove it without tools, which makes working inside the case much easier.
Cooling and ventilation
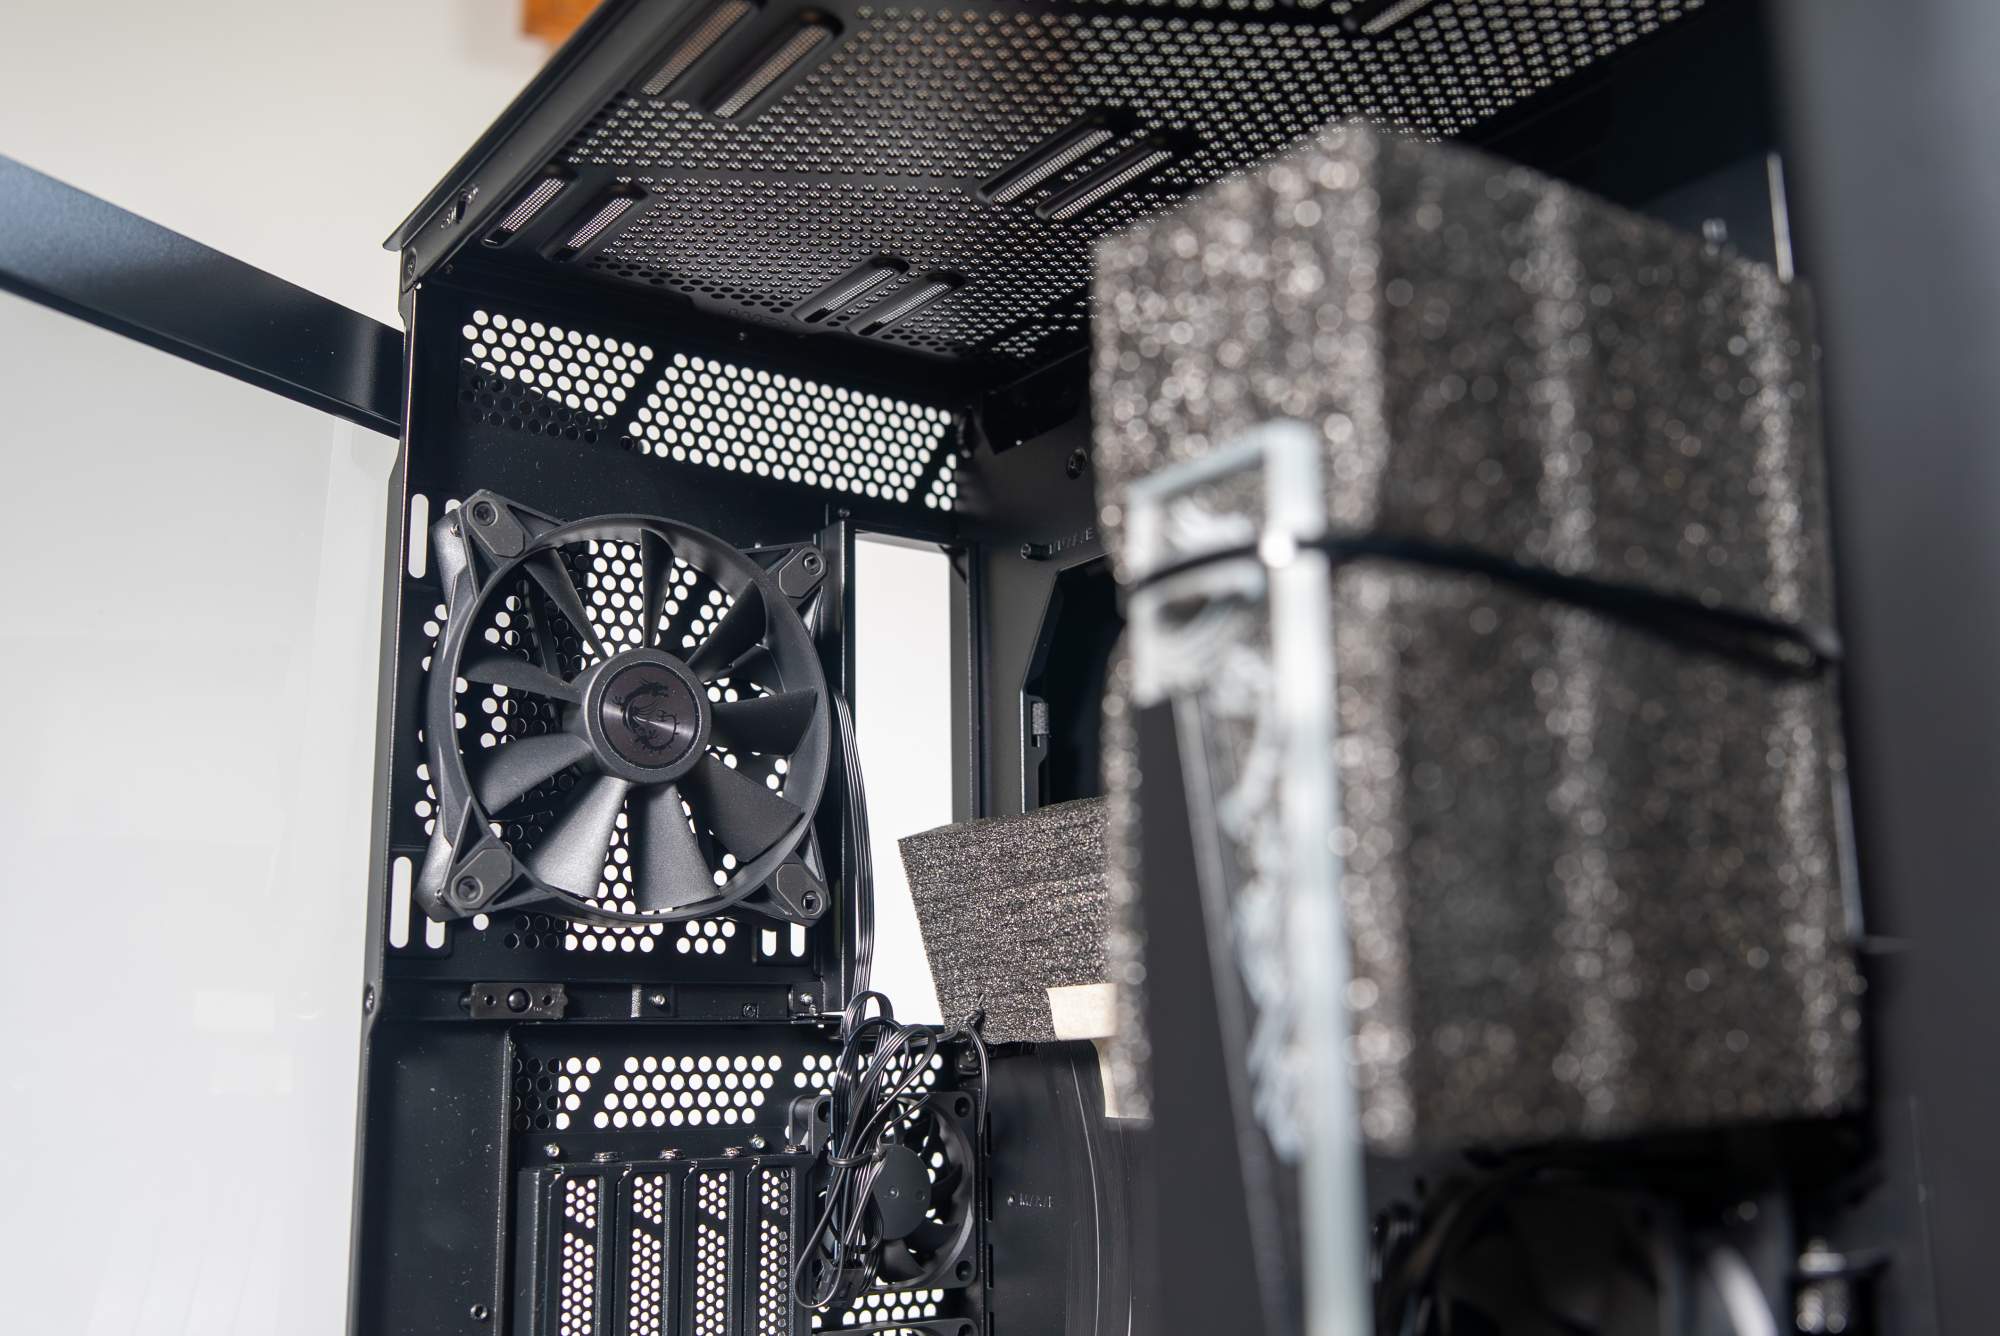
As the “Airflow” name suggests, this case focuses on maximum airflow and effective component cooling. The front panel, which is almost entirely fine perforated mesh, provides easy access to cool air from the room. Air intakes are also located at the bottom and at the top, all protected by dust filters. The manufacturer allows mounting up to 10 fans of various sizes (120 and 140 mm) inside, including 3 at the front, 3 at the top, 1 at the rear, 2 on the PSU shroud, and 1 on the cable cover panel mentioned earlier. From the factory, the case comes with seven PWM fans installed, meaning you get strong cooling right out of the box:
- 3x 120 mm at the front (cool air is pulled in through the front mesh)
- 1x 120 mm at the rear (exhaust fan pushing warm air out)
- 2x 60 mm on a special vertical PCIe bracket (directing air into the space between the GPU and the motherboard)
- 1x 80 mm on the cable cover panel (additional intake aimed toward the GPU and M.2 area)
This factory cooling setup makes the Gungnir 300P stand out versus competing cases, most of which usually include 3-4 fans by default. Here you immediately get a full set, which in practice delivers excellent component temperatures even without extra spending. The three front fans push plenty of air through the perforated panel, while the rear fan efficiently removes hot air. MSI also used unusual small 60 mm and 80 mm fans, meant to improve airflow in areas that larger fans don’t reach easily. The two 60 mm fans on the vertical GPU bracket are there to cool the narrow space between a vertically mounted graphics card and the motherboard, where things like M.2 drives can sit. Those extra small fans help push fresh air into that gap and cool both the GPU and nearby components (SSDs and VRM). Similarly, the adjustable 80 mm fan on the cable cover can direct airflow at an angle, for example straight toward the GPU or other PCIe devices. This shows MSI tried to address thermals even in the more hidden corners of the case.

In practice, the effectiveness of the smallest fans can be debatable. The 80 mm fan on the cable cover sits directly in front of one of the front fans, so it partly duplicates its job and may not make a large difference. You can treat it as an interesting extra or a tool for unusual configurations. Still, the overall cooling potential of this case is excellent. If needed, you can add more fans, for example at the top if you install a radiator there, or on the PSU shroud to cool the lower part of the case.
Liquid cooling support is also strong. The Gungnir 300P can fit two 360 mm radiators at the same time (one in the front and one at the top). It supports 120, 140, 240, 280, and 360 mm radiators at the front or top, and 120 or 140 mm at the rear. That allowed me to install an Arctic Liquid Freezer III 360 AIO in my build. A 360 mm radiator can be mounted at the front (with the front fans pushing air through the radiator) or at the top, although you should check compatibility with tall RAM modules. Fortunately, the case has about 80 mm of clearance above the motherboard, so even a push pull 360 mm setup is possible. With this, even a very hot CPU, like the 16 core Ryzen 9 9950X3D used in this build, can be cooled effectively without the case limiting you. Finally, with such an airy design and many fans, it’s worth noting that noise is under control. All fans are PWM, so you can control their speed through the motherboard based on temperature. At moderate RPM the case stays relatively quiet, and when you need maximum cooling, you have plenty of airflow headroom.
Component space and GPU mounting options
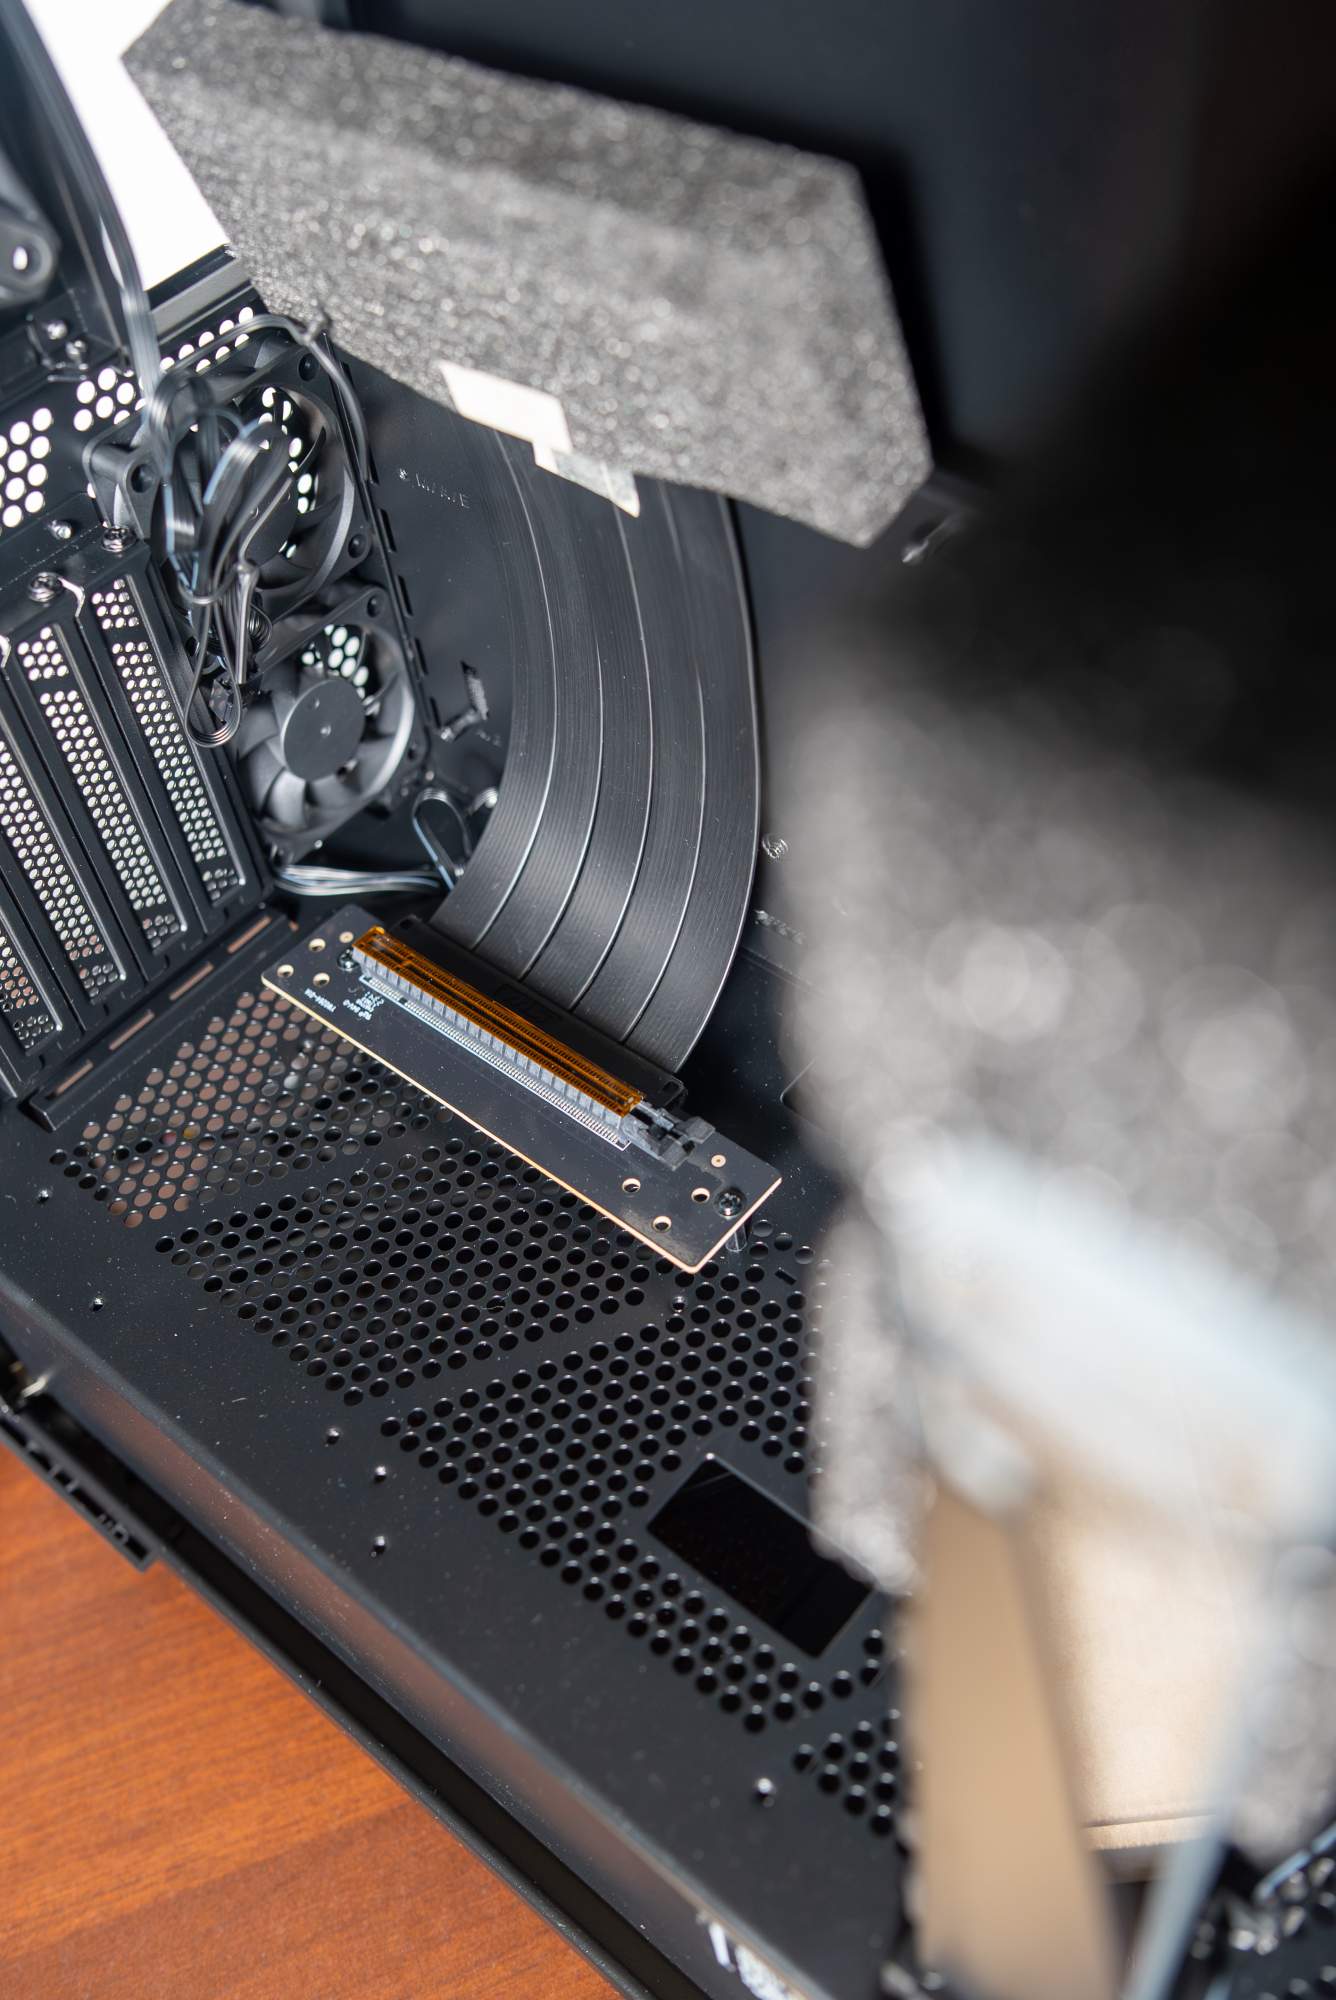
One of the standout features of the MSI Gungnir 300P Airflow is flexibility when mounting a graphics card. By default, the case offers 7 horizontal PCIe slots for expansion cards (GPU, sound cards, and so on). But in this model MSI used a replaceable PCIe bracket that lets you quickly switch from the default 7 horizontal slots to 4 vertical slots. In other words, the case natively supports vertical GPU mounting without buying a separate bracket. Inside you’ll find a dedicated vertical kit, a separate frame that replaces the standard slot covers and lets you mount the GPU in a vertical orientation. What’s more, the box includes a full bandwidth PCIe 4.0 riser cable, so you can connect the vertically mounted GPU to the motherboard without worrying about compatibility or bottlenecks for current graphics cards. For people who care about aesthetics, that’s great news. You can immediately showcase the GPU’s side, whether it’s an illuminated fan design or part of a water cooling loop, without needing extra accessories. The maximum GPU length in vertical mounting is similar, about 338 mm, and the thickness clearance is up to about 80 mm, enough for a 4 slot GPU. MSI also considered thermals for a vertically mounted GPU: the earlier mentioned 60 mm fans on that frame help deliver airflow around the card, especially cooling areas near the backplate and nearby M.2 drives.
Another useful addition is the included GPU support bracket. It’s an adjustable brace mounted inside the case, designed to support a heavy card and prevent GPU sag. This bracket in the Gungnir 300P is especially eye catching: it features a machined MSI dragon pattern and includes ARGB lighting. You can adjust it vertically and horizontally to match your GPU, and installation is tool free with latches. In practice it’s not just practical, but also decorative. The dragon lighting is fairly subtle, not overly bright, and adds a gentle glow, which can appeal to people who like a more restrained RGB aesthetic. Regardless of whether you mount the GPU vertically or horizontally, the bracket stabilizes it well.
Overall, the case is very builder friendly. The PCIe bracket uses quick latches, so switching to vertical mounting is quick and easy. Working inside during a build is comfortable thanks to the thoughtful layout. There’s lots of room behind the motherboard tray to hide cables, drives can be mounted on removable trays outside the case, and all panels (top, front, side) are removable, which gives easy access from every direction.
Extra features and front I/O
A special mention goes to the USB-C 20 Gb/s port (Gen 2×2). It makes it convenient to connect very fast external SSDs and modern peripherals without reaching behind the PC. A port like this on the front I/O still isn’t standard in every case, so it’s great to see it in the Gungnir 300P. It’s also worth noting that all buttons and I/O ports are placed on the upper front edge, which is practical when the case sits on the floor or a low stand, because the ports are easy to reach. On top of that, you obviously get a set of installation accessories (screws, zip ties, and so on) needed to install components. MSI also provides a readable manual, which helps when using the less standard features, like the riser setup.

It’s worth noting that in the 300P Airflow version, MSI did not include an ARGB controller or RGB fans, because the priority here was cooling and extra accessories (riser, GPU bracket) rather than RGB effects. All seven fans are black PWM models without lighting. If someone wants more illumination inside, they’ll need to add LED strips or swap fans for RGB ones. Fortunately, the case supports standard 3 pin 5V ARGB connections, for example through an MSI motherboard with Mystic Light. A small consolation for RGB fans is the subtly lit GPU bracket with the MSI dragon, which adds some character without going over the top.
In general, the case styling is restrained and universal. The black color fits almost anything, and the lack of “Christmas tree” lighting will appeal to people who prefer a cleaner, more elegant PC look. On the other hand, through the large tempered glass window you can clearly see components that have their own RGB lighting, like the Kingston FURY Renegade RGB DDR5 used in this build, the motherboard, or the graphics card. The case works as a great stage for showing off your parts, especially if you mount the GPU vertically, making it the central element visible through the glass.
